Cultivating Seeds Indoors For Spring Gardening
By Victoria Fuller
If you live in the Northern States you may be struggling with what we like to call “why oh why do we live in a state where our gardening season is only 6 months of the year?”, but never fear! Seed Starting is here! Today we are going to dig into some of the reasons that cultivating your seeds indoors is a fantastic idea and should be part of your gardening routine!
Why Bother?
Starting your seeds indoors is a fantastic way to make the most of your time while getting a head-start on some of the “less exciting” parts of gardening. Starting your seeds indoors also vastly improves your chances of success as you do not have to have a contingency plan in case there is a late-winter frost, your seedlings will already be safe indoors!
It is also worth mentioning that growing your garden from seed is incredibly cost effective, you can buy an entire packet of seeds for as little as $1 and yet starter plants that are ready for transplanting are rarely less than $5 for just one plant!

Types of Seeds
When planting your seeds it is important to have the foresight of the garden you are hoping to achieve. There is not a one-size-fits-all seed packet that will help you achieve everything at once (although you can purchase variety and wildflower seed packets that feature a variety of blooms in one fell swoop, these are worth keeping in mind!).
So do your research and be sure to choose seeds that will eventually thrive in the climate where you reside and also require the amount of care and attention that you are prepared to give them!
How Long Do Seeds Take To Grow?
This depends entirely on the type of seeds that you are planning to cultivate, some of the most popular seeds have the following timelines from initial sowing to transplanting:
Potatoes:
These delightful starchy vegetables can be ready to be relocated to outdoor soil after germination (sprouting!) in as little as ten to fourteen days!
Carrots:
These orange pals take around three weeks to germinate and should be ready to transplant outside in April.
Zinnias:
These beautiful blooms will take between a week and three weeks to germinate and then will be ready to be transplanted in April, definitely be patient with these flowers though as it can take up to two months for the first flowers to actually bloom.
Arugula:
This leafy green will take about 10 days to germinate and then will be ready to harvest within about 40 days! You will be enjoying tasty salads in no time!
Lettuce:
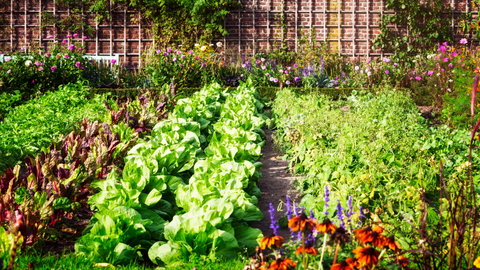
This salad staple will usually germinate in a couple of weeks, and after transplanting in around ten weeks. Growing a salad bar in a raised garden bed is a fantastic option for those looking to improve their healthy eating habits!
Cosmos:
These gorgeous flowers will germinate in one to three weeks, and then after they have been transplanted they will flower within 50 to 60 days of germination.
Poppies:
These are a fabulous option for those who want a one-and done flower garden, as poppies will self-sow for seasons to come! Poppies will usually sprout within 3 to 4 weeks and will be ready to transplant!
What Will I Need?
The Seeds Themselves
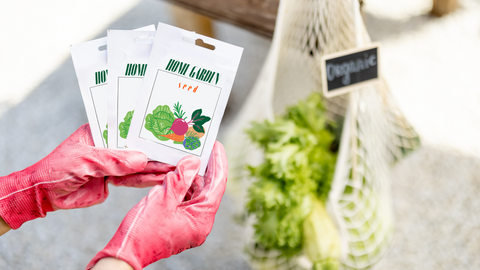
You can find seeds for sale in most garden centers, grocery stores, and general stores, as well as plenty of online garden retailers who offer them! Be sure to abide by State and Federal seed laws, we don’t want anybody getting in trouble for transporting seeds across borders when they shouldn’t be!
A Grow Lamp
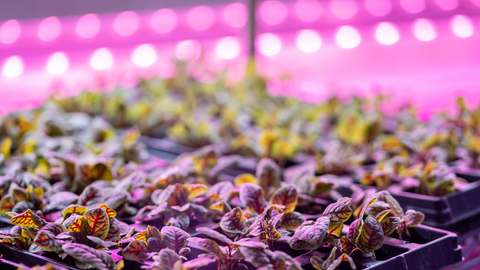
Grow lamps are a fantastic staple for any gardener who wants to extend their growing season by several months! There are so many options available to you so we would recommend doing some research into the specific needs that the seeds you are cultivating require. Many grow lamp options offer both UV light to simulate the sun's rays as well as the warmth that your indoor plants may be missing (especially if you are gardening in a garage, shed, or greenhouse!).
Seed Trays
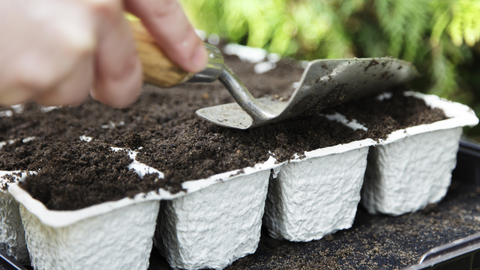
Biodegradable seed trays are a fantastic option for your indoor seed growing journey as they can be transplanted directly into the soil outdoors (when the pesky frosts finally retreat) with no negative environmental impact! They also often have convenient drainage holes so you won't have to worry about your poor seeds having their roots swamped!
Seed Starting Soil Mix
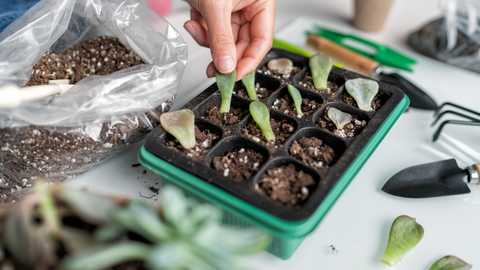
Using a nutritious soil mix filled with organic matter is essential to your seed’s success! It is important to ensure you are using a soil specifically composed with the nutrients required for this exact purpose instead of just regular potting mix (which is fine if you are in a pinch, but we would not recommend this being your first choice). Our friends over at Better Homes & Gardens have published a fantastic article with information on the best soil options for your seeds!
A Raised Garden Bed
What better way to give your seedlings the best chance at success than by transplanting them in a beautiful Cedar Planter Box? Cedar Planters have Western Red Cedar raised garden beds and planter boxes in a whole plethora of sizes to fit any outdoor space, they have a built in-drainage system so you don’t have to worry about swamping your plants’ roots and they are incredibly easy to assemble as soon as you know it’s time to start taking the garden outdoors!
Transplanting
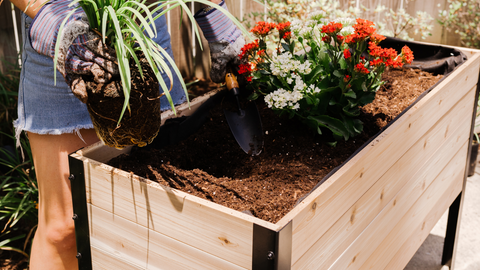
You did it! You raised your seeds and now they are sprouting and reaching for the skies (about 2-3 inches in height!),. As soon as you are certain that there will not be any more frosts then it’s time to get outside and start transplanting! It’s as simple as 1,2, 3:
- Dig a hole deep enough to place the entire root ball of your seedling. Make sure you transport your seedling by carrying it by the stem/root, not the leaves!
- Fill in the rest of the hole with enough soil to cover the entire root system and just leave a few leaves visible.
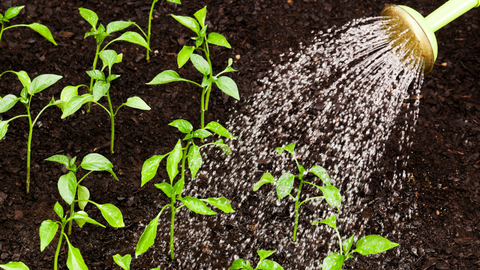
- Gently water your newly transported plant to help it acclimate to its new home and avoid "transplant shock"!
Conclusion
We hope that this blog post will inspire you to start growing some seeds right away! With the right equipment there is truly no reason that you can’t have botanical success no matter the time of year!
Which seeds are you planning on growing yourself this season? Do you have any advice for first time seed-growers? Please feel free to let us know in the comments section below and let's start a conversation amongst gardener pals!


Leave a comment